Welcome to Techdim
Tech-savvy guide through the exciting world of technology at Tech Dimension
We’re here to simplify the complex and make technology understandable for everyone. Whether you’re looking for advice on gadgets, software, or solutions to tech issues, we’ve got your back. Our dedicated team of experts is here to share real-life experiences and provide you with the best and most effective insights. Join us on this journey as we explore the vast dimensions of technology together.

As Featured In
We’re proud to have been featured by some of the world’s leading organizations. These features highlight our excellence in the field of Electronics Knowledge. Here are a few of the organizations that have recognized our work


 Browse Categories
Find Popular topics for your circuit needs:
Recent Blogs

Is Fortnite a CPU or GPU Game?
We all know and love Fortnite. It’s the game that has taken the world by storm and captivated millions of players and continues to do…
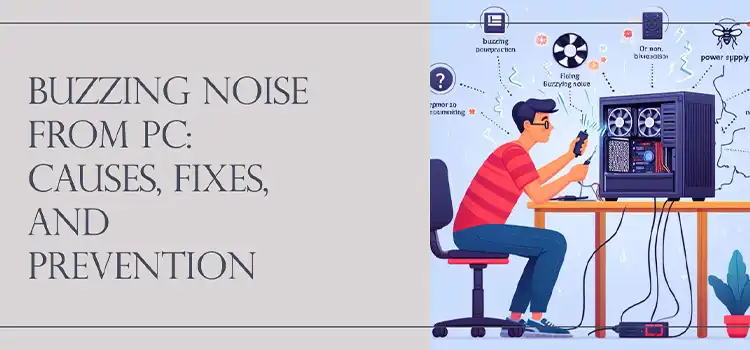
Buzzing Noise from PC | Causes, Fixes, and Prevention
If your computer has started emitting an irritating buzz, hum, or whine, it’s a sign that something might be wrong. These noises can range from…

Understanding Online Scams and Legal Protections
Given the current pervasiveness of internet scams in the cyber landscape, individuals who are regularly online are constantly at risk for identity theft and fraud….

Best 3 Cheapest Data Recovery Software in the Market
Have you experienced a situation where you lost important personal data accidentally or intentionally? This is incredibly painful. However, technology has made it a lot…

Staying Safe in the Age of Texting | How to Identify and Prevent Text Message Scams
Text messaging serves as a convenient, real-time communication channel connecting people instantly. However, an exponential rise in text scams threatens user security and privacy. Devious…

Is Dawn AI Safe to Use?
You know, when it comes to using AI apps like Dawn AI for creating avatars, I can’t help but wonder about safety and privacy concerns….

Is CoD CPU or GPU Intensive? Explained
Anyone who’s strapped into the boots of a soldier in a Call of Duty (COD) game knows the importance of smooth, responsive gameplay. Whether you’re…

iPhone Country Code List | Explained
I’ll be honest, when I first got my iPhone, the “country code” thing seemed like a total mystery. Just a bunch of random letters and…

Understanding Data Security Posture Management | Securing Digital Assets in the Modern Era
In today’s digital-first world, the security of data has ascended to the forefront of organizational priorities. Amidst the relentless advancement of technology and the ever-expanding…
Hardware & Software
- Best 3 Cheapest Data Recovery Software in the Market
- Is Dawn AI Safe to Use?
- 6 Common Mistakes to Avoid When Storing PC Hardware in Units
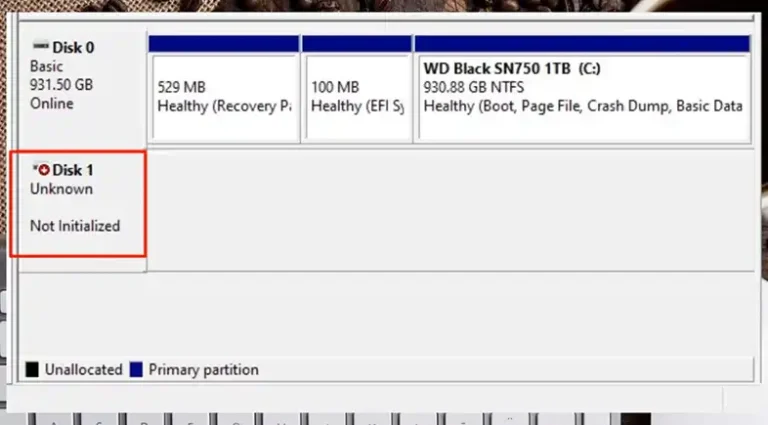
- How to Fix an SSD Not Initialized?
- HDMI Dummy Plug What Is It and How Do You Use It?
- Decoding the Cost of Developing an iOS App_ An In-Depth Analysis
- Enhancing Healthcare IT Service Management with Alloy Software Solutions
- The Link Between Signature Styles and Personal Characteristics
- Can I Put a Graphics Card in Any Slot?
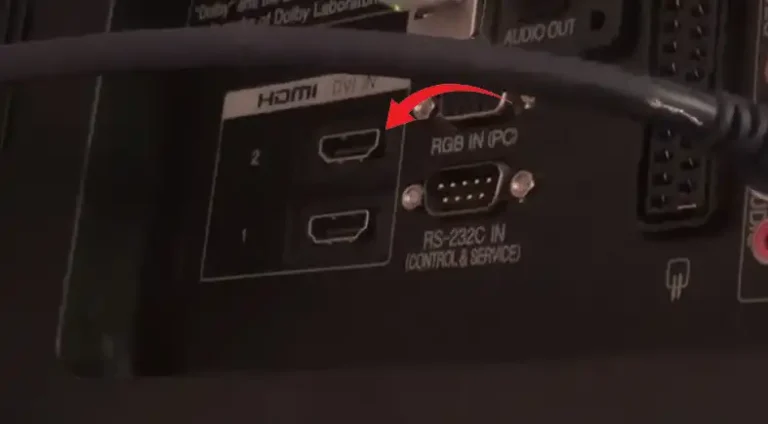
- Should I Be On HDMI1 or HDMI2?
Technology
- Is Fortnite a CPU or GPU Game?
- Is CoD CPU or GPU Intensive? Explained
- iPhone Country Code List | Explained
- Understanding Data Security Posture Management | Securing Digital Assets in the Modern Era
- Exploring AI-powered Glasses for Visual Impairment
- Crypto Hosting is The Next Big Thing and Here is Why
- How Do I Reset My HDMI Port on My JVC TV?
- Can I Bypass One Connect on Samsung TV?
- Enhancing Healthcare IT Service Management with Alloy Software Solutions
- Touch Screen Problems After Screen Replacement – iPhone 11
Android & Windows
- What Is Carrier Hub Processing Requests?
- How to Check Your Smartphone’s Memory Usage?
- Precision in Every Line: Real-Time Operating Systems (RTOS) in Embedded Software
- What Is Dex2oat Android? A complete walkthrough
- How Cluttered Software Affects Your Phone’s Performance?
- Essential Mobile Tools | The Top 10 Must-Have Android Apps Of 2024
- Does Logitech C310 Work With Windows 10? 8 Considerable Facts
- [Fixed] Class ID 2593F8B9-4EAF-457C-B68A-50F6B8EA6B54 | a Runtime Broker
- [Answered] Can I Delete Log Txt On Android?
- [4 Fixes] computer won’t boot past bios screen
Artificial Intelligence
- Exploring AI-powered Glasses for Visual Impairment
- Content Writing Services: The Key to Your Firm’s Long-Term Accomplishments
- How Much Can a Trading Bot Make?
- Tech Trends: Top 5 Emerging Technologies for Business
- The Impact of Undetectable AI Writers on the Job Market
- Navigating Creativity: A Guide To Writing With ChatGPT
- Google Gemini AI: What is it, and How to Use and It’s Comparison with ChatGPT?
- Does ChatGPT Have Malware? What I Found
- What Is WormGPT? What You Should Know
- WormGPT vs ChatGPT | What Apart Them
Can’t Find What You’re Looking For?
Need Assistance?


Techdim works on –

Simplifying Technology
We simplify technology so everyone can understand it. No jargon or confusion.

Tech Trends
Stay updated on the latest tech trends, gadgets, and DIY projects with our insights and recommendations
Problem-solving
We help you solve your tech issues. From software troubles to choosing the right gadgets, we’ve got solutions
Techdim Numbers
Monthly readers
Tech Guides
Years Online
How Techdim Ensure Quality Content?
At Techdim, a bunch of young tech enthusiasts invest countless hours in researching, experimenting, and fine-tuning every article. Their dedication ensures that you receive accurate, up-to-date, and reliable information.

Expert Opinions
We start with insights from our tech enthusiasts

Thorough Research
In-depth research from credible sources informs our content

Editors’ Review
Experienced editors ensure clarity and readability

Publishing
Only after passing these stages do articles earn their place on our site