How to Delete Windows Update Files and Save Storage in Your Computer
Do you want more disc space on your computer? Deleting the Windows Update files can do magic! They often consume a lot of storage space and you can delete them manually or automatically. This will save you some storage ensuring better performance of your computer.
In this article, we’ll discuss how to delete Windows update files and save storage.
What is Windows Update Files
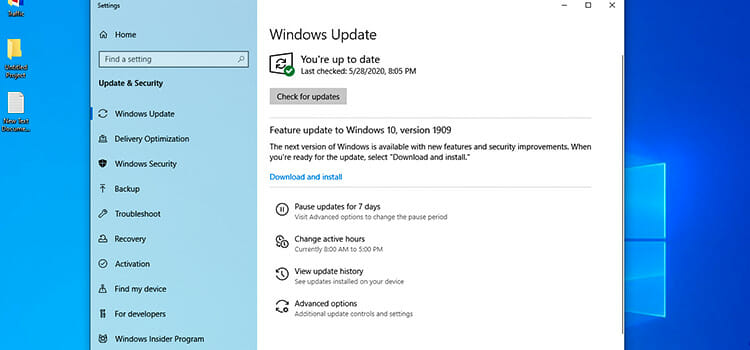
If your computer runs by Microsoft operating system, it comes with Windows Update service. It enables your computer to download and install updates from Microsoft. These files can take a large space in your C drive. They are stored and installed automatically. Even after installing a newer version of windows, the old copies are kept. So, if you are happy with the updated version and willing to free some space in your computer try windows update cleanup. So, before proceeding further, check the Windows version of your computer.
How to Delete Windows Update Files
There can be several ways to delete windows update files depending on the versions of Windows you use- Disk Cleanup feature and manual WinSxS cleanup. For Windows 10, 8, and 8.1 the Disk Cleanup feature is a handy tool to delete the update files you no longer need. Microsoft enabled this feature in Windows 7 by an update in October 2013. If your Windows 7 is not updated or you use older versions of Windows without upgrading, try deleting update files from the WinSxS folder. You can also backup files on various methods too.
Automatically Delete Windows Update Files in Windows 10
For deleting update files in Windows 10, the Disk Cleanup tool is mostly used because it allows you to clean unnecessary data quickly and easily. The waste files of the WinSxS folder pile up here, so they are safe to delete. For this deletion process, you need to follow several steps.
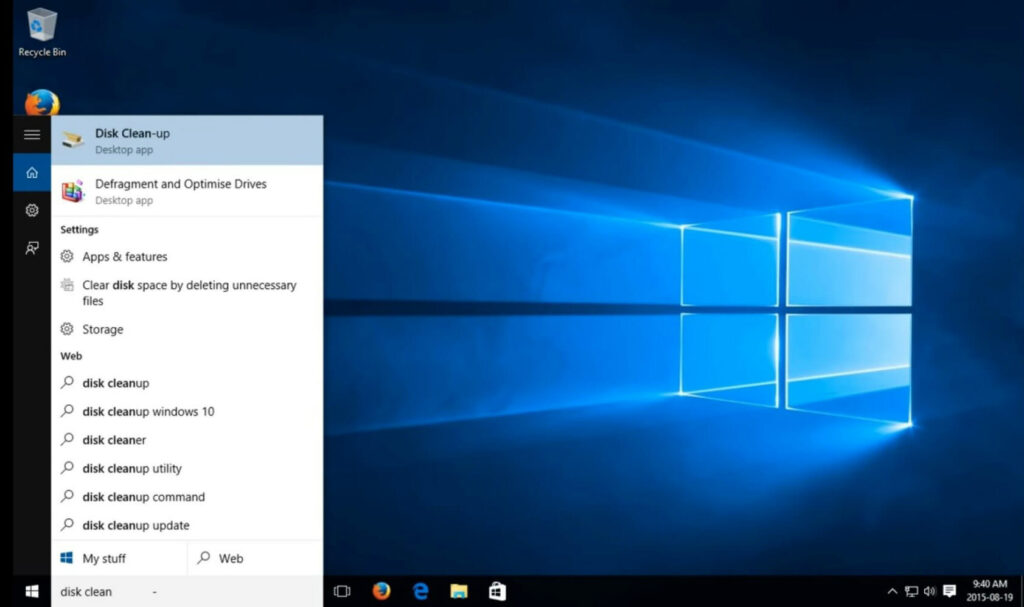
Step 1: Use the search box of the taskbar and type Disk Cleanup. When it appears above click on it.
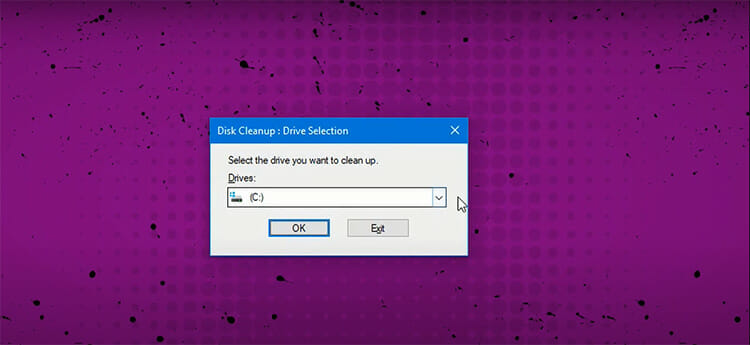
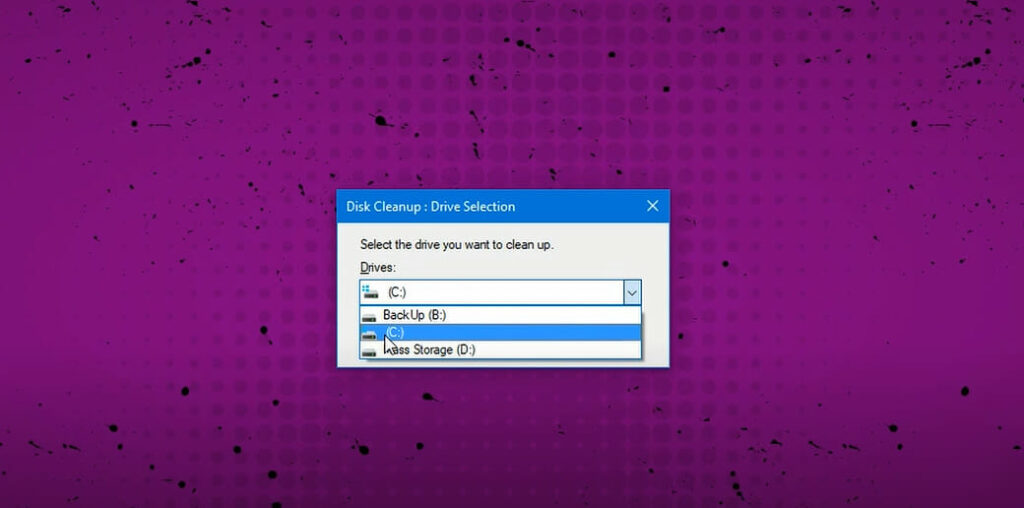
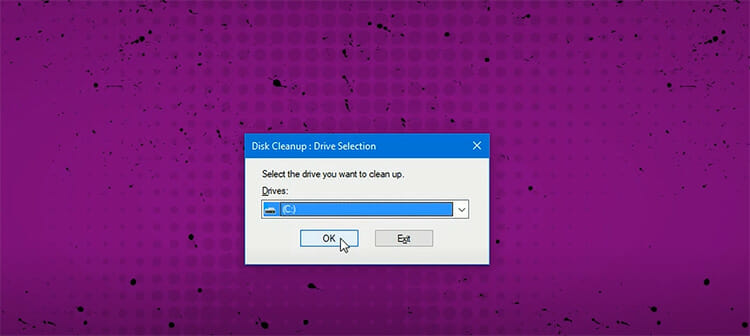
Step 2: Select the drive you want to clean up. Most of the time your Windows update files are stored in C drive. So select C from the options.
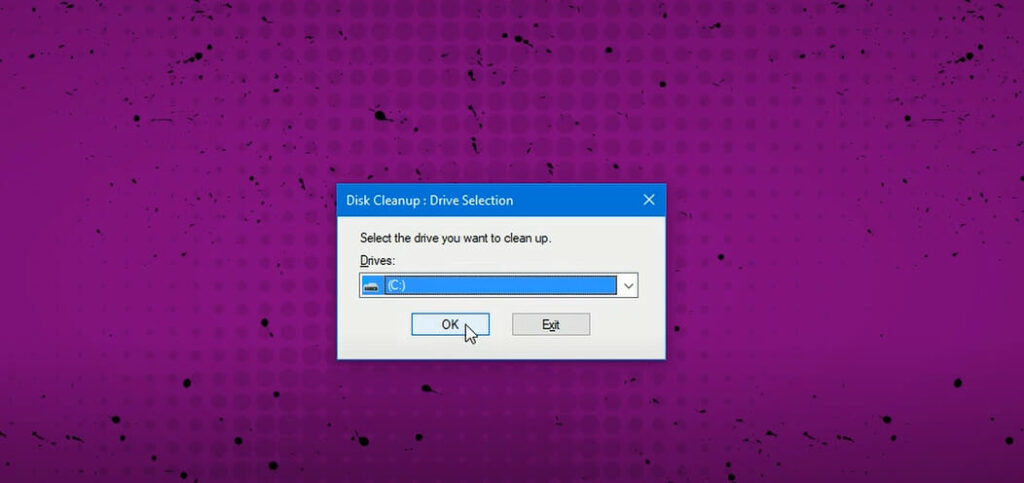
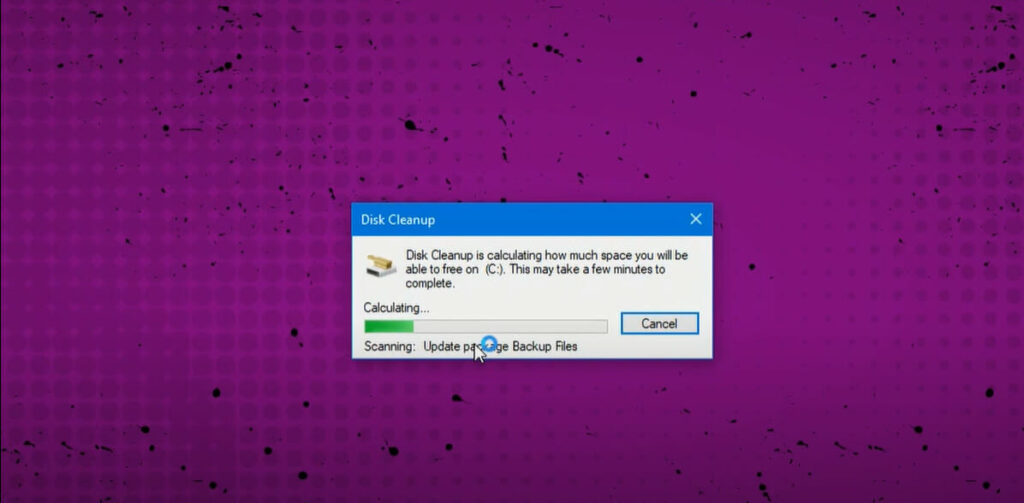
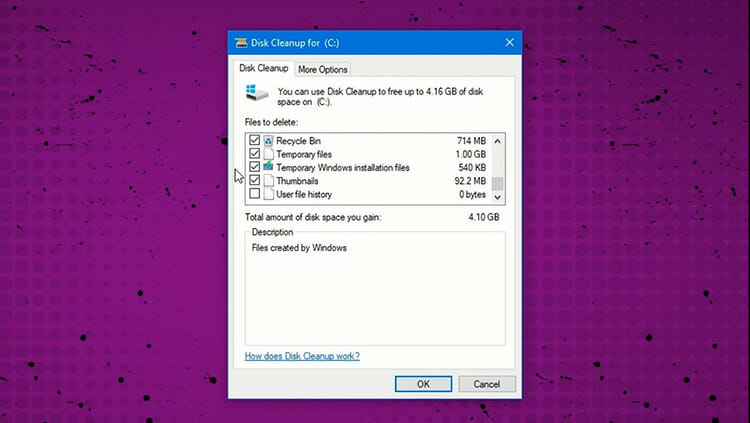
Step 3: A pop-up window will be open showing you the files you can delete. There you will find an option named ‘Clean up system files’. Click on it. A window will pop up asking you the drive. Again, select C and press ok. It takes a while to find and show the windows update files.
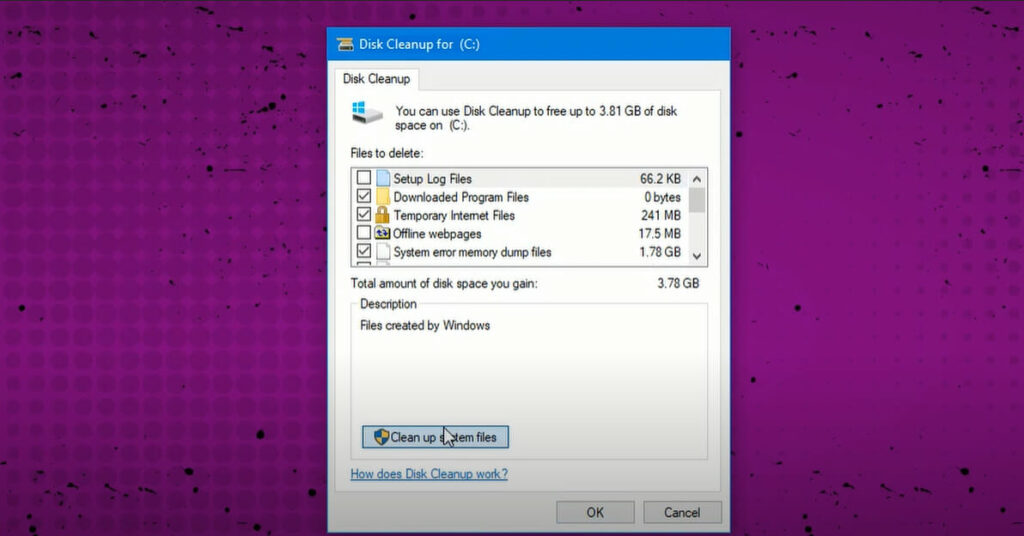
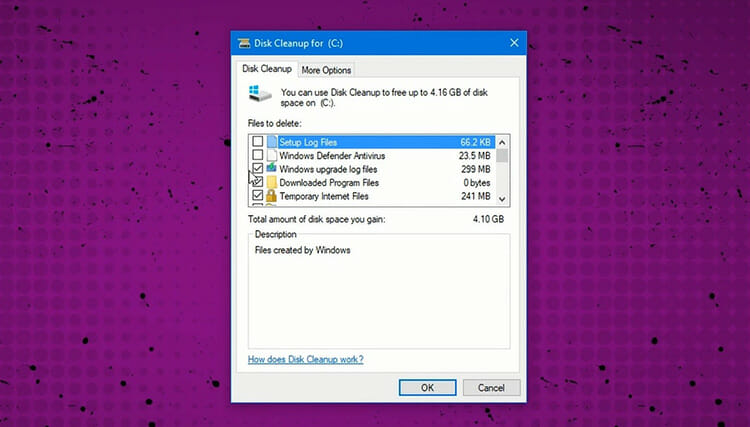
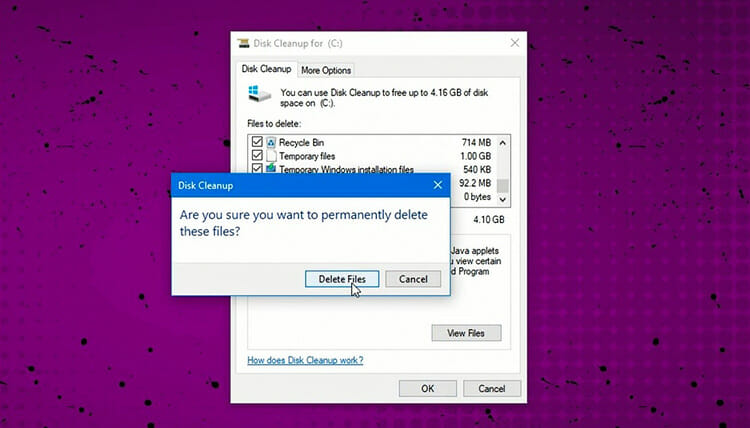
Step 4: Tick on the checkboxes saying ‘Windows upgrade log files’ and ‘Temporary Windows installation files’ and select ok. Confirm the deletion process. Done!
Thus you can delete windows update files in Windows 10 easily.
Delete Windows Update Files in Windows 7 Automatically
You can delete windows update files in Windows 7 using Disk Cleanup following the easy steps.
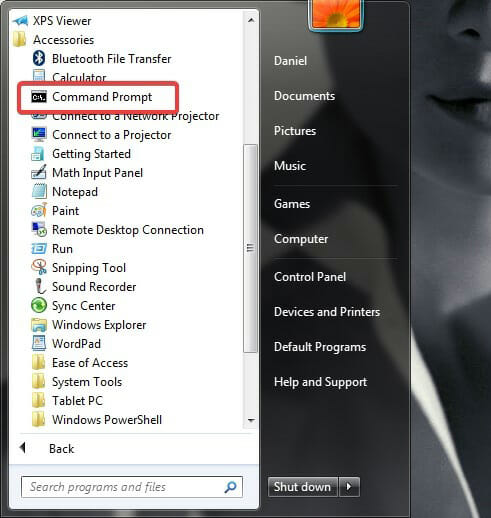
Step 1: Go to Start and go to:
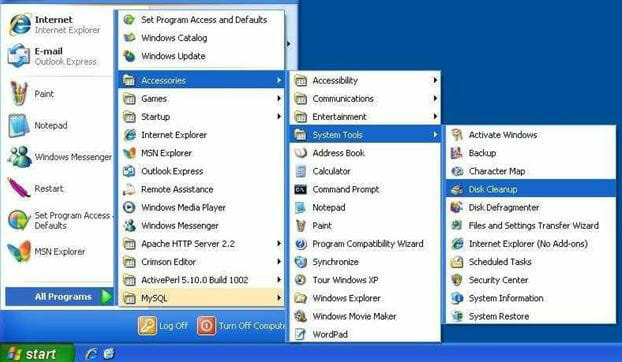
All Programs> Accessories> System Tools> Disk Cleanup
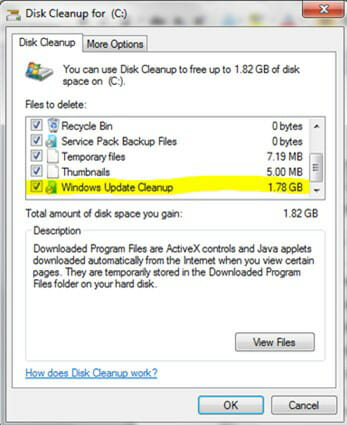
Step 2: Click on Disk Cleanup and a new pop up window will open. Check the box ‘Windows Update Cleanup’. Click OK. Confirm to delete files.
Delete Windows Update Files From Winsxs Using Command Prompt
WinSxS is a system folder in your Windows where system installation files, installation backups, and updates are stored. As your Windows installs an update, the previous update files become unnecessary and can take a lot of space and it grows over time. You can not delete the whole WinSxS folder as some of the files are useful when it comes to running and updating your Windows. What you can do is delete the backup files. You can use the WinSxS cleanup method for an older version of Windows 7 and the previous version of Windows as they don’t support Disk Cleanup. Follow the following steps for backup folder reduction by command prompt at Windows 7 and Windows Vista.
Step 1: Go to Start. Type CMD. Click on Command Prompt.
Step 2: Type CMD:
dism /online /cleanup-image /spsuperseded /hidesp
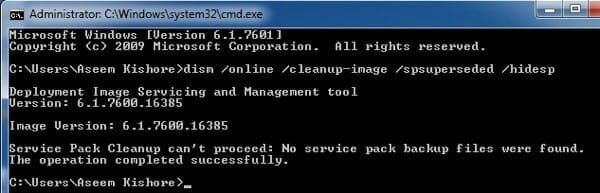
With this method, SP (Service Pack) backup files will be cleared. It will only work if you have SP files installed. It is applicable for Windows 7 with SP1 and on Windows Vista SP1.
Delete Windows Update Files Manually in Windows 7 and Windows 10
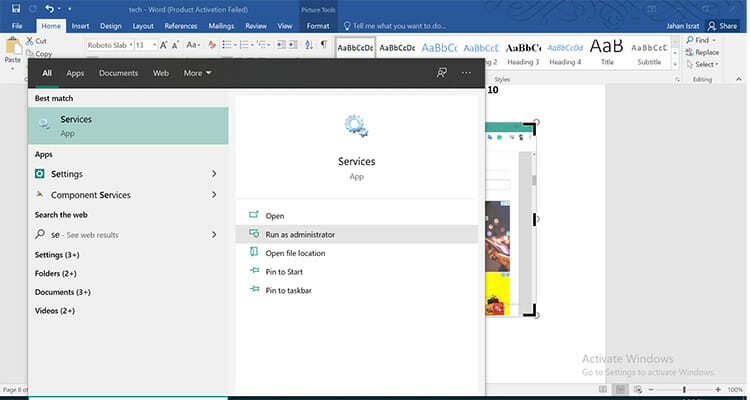
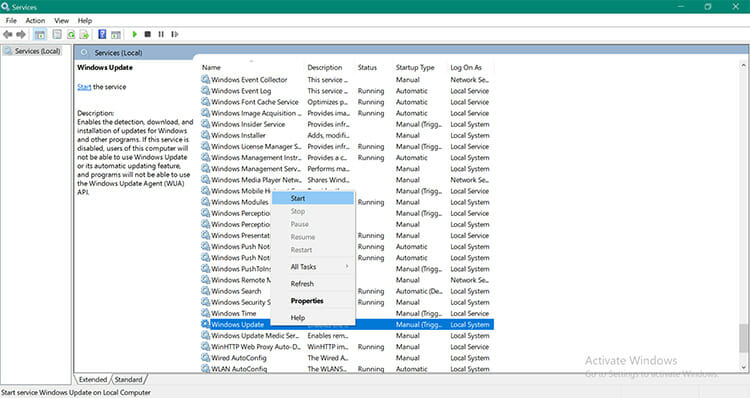
Step 1: Stop the Windows Update Service by searching ‘Service’ at the Search bar. Right-click on it and choose ‘Run as administrator’.
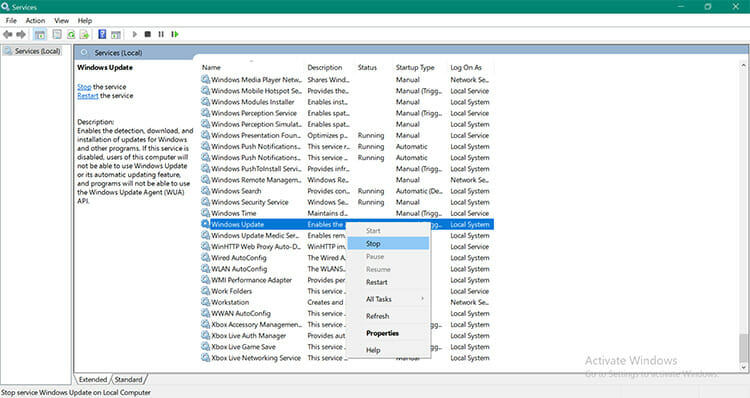
Step 2: A window will be open where you can find ‘Windows Update’. Right-click on it and choose ‘Stop’ to stop Windows Update Service.
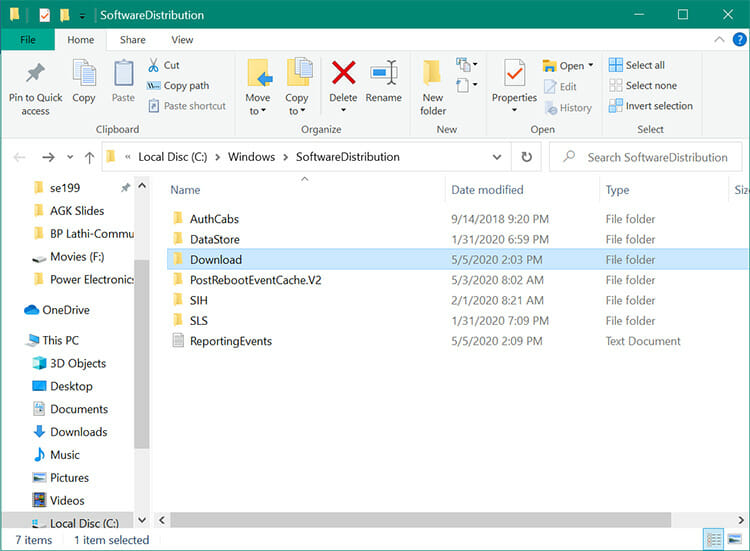
Step 3: Press ‘Windows+R’. The ‘RUN’ box will be open where you will find files of Windows update. Type ‘C:\Windows\SoftwareDistribution\’. Press Enter key.

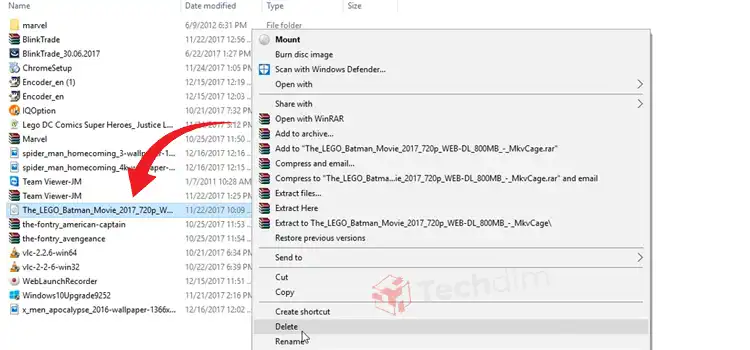
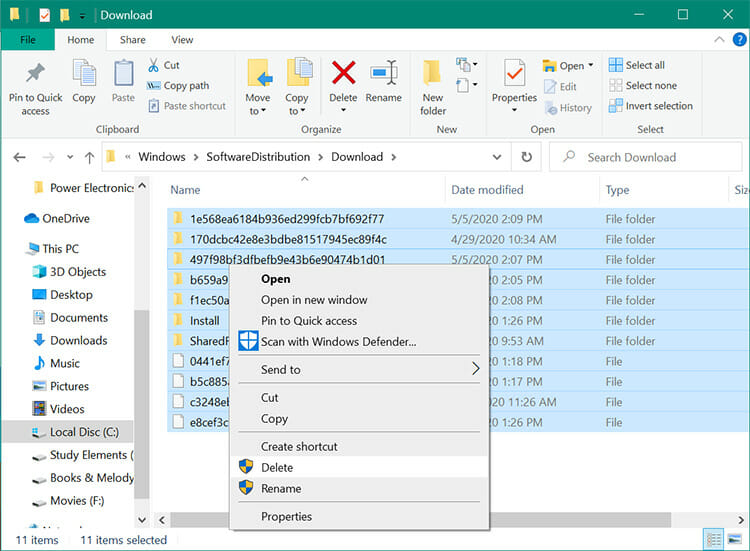
Step 4: You can see the ‘SoftwareDistribution’ folder now. Open the ‘Download’ folder. Select all the files and delete them. Click on ‘Continue’ if administrator permission is required.
Step 5: Go to Windows Update service and start it again. Thus, you can delete Windows Update files manually.
Conclusion
Depending on your version of Windows, the deletion process of Windows Update files may be different. You can also stop Windows to update through the Windows registry. Now that you have learned about the methods, implement the suitable one following the steps, and save disc space of your computer!
Subscribe to our newsletter
& plug into
the world of technology