IDE to SATA Conversion | How to Connect and Everything You Need to Know.
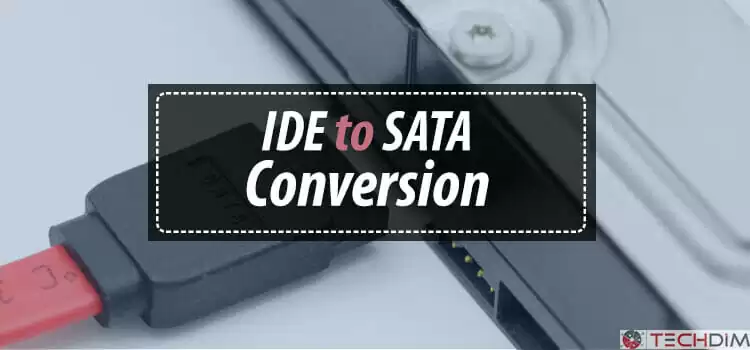
If you had an old HDD lying around somewhere that you want to use with your computer, you might need to learn how to connect IDE hard drives to SATA systems. and even though SATA hard drives are much faster than older IDE disks, IDE to SATA conversion can come in quite handy in many cases.
To connect IDE hard disks to SATA motherboards, you need to use IDE to SATA converter. Continue reading below for more information on how to do it.

What is IDE?
IDE is the short form of ‘Integrated Drive Electronics’ which is actually an interface for connecting the processor and the drives. It should be clear, by interface I mean the way in which your computer and the hard drive is connected. This is also known as ATA or Parallel ATA. On each drive, IDE has its own controllers. So the drive can connect directly to the motherboard. The hard drives which have IDE connection have 8-pin or 24-pin connection usually that plugs into a slot on the motherboard directly.
What is SATA?
After many days of IDE connection hard drives, there came the SATA hard drives which are meant to replace the IDE hard drives for their more efficient characteristics. SATA means ‘Serial Advanced Technology Attachment’. The main characteristic which differentiates SATA from PATA or IDE is that in SATA the information moves between the hard drive and motherboard as serial one, i. e. one bit after another.
The main motivation behind the creation of SATA was the increase in the drive speed. For, SATA connection hard drives are very fast.
Advantages of SATA
SATA has all type of things and advantages that were limited in PATA.
- The data transfer rate of SATA connections is very fast compared to that of IDE connections. In fact, the main reason for SATA being used over IDE is because of the increased data transfer speeds of SATA connection hard drives. IDE has the capacity of data transfer speeds of 33/66/100/133 MB/second, whereas SATA is capable of 150/300/600 MBs/second. The differences in speed are due to the various versions and flavors of IDE and SATA.
- The SATA drives usually need very little power than PATA drives. The SATA drive usually uses only 250 mV of power, which is even 25 percent of one volt.
- The lower power consumption of SATA connection drives helps to keep the inner part of the computer case cooler and also reduces the power supply drain at a considerable range.
- The SATA cables are up to 40 inches. So it is an advantage of SATA over IDE which is the management of cables and length of the cables connecting the hard drives and motherboard. When you have extra length in cables, more flexibility of the positions of the drive can be attained.
- There are four to six SATA connections usually in a normal motherboard which allows multiple SATA hard drives to hook up.
If you closely examine all of the factors described above, you will see that the SATA drivers are better than PATA drivers in almost all aspects.
Why Do You Need to Connect to SATA?
I personally feel that you should not ask this question at this moment of reading. After reading the advantages of SATA, you should know it by now why you need to connect to SATA. In modern times, there is no competition of SATA with IDE; SATA is always ahead of IDE.
Moreover, the total switch from IDE to SATA doesn’t happen without issues sometimes. If you have an IDE hard drive but have a SATA motherboard, you can connect the drive to the motherboard still. This may be your reason for the conversion of IDE to SATA.
Connecting the IDE Hard Drive to SATA Motherboard
You will feel when you will know about it that connecting the IDE hard drive to the SATA motherboard is a very easy task. It will take at most 10-20 minutes. Remember that the computer must be unplugged from any electrical connection.
There are certain things needed for this IDE to SATA conversion.
- IDE Hard Drive: It is one of the most elements that’s needed. You know by now what IDE is. IDE hard drives are easily identifiable through their pin connection points usually. In most of the cases, the installation is by plugging it into the required component. It is needed to ensure a tight connection.
- SATA motherboard: As you know, SATA is the current standard for the connection of hard drive to the motherboard. This is obviously a replacement for the previous IDE connection. It is easily identifiable by the simple plug with only one connection point. SATA motherboards are more likely the present standards and are more efficient, faster, and more stable.
- IDE to SATA converter/adapter/cable: With the advancement of technologies, there are needs to use older technologies with newer ones; and so there are ways too. An adapter or converter is used to convert the connection points of IDE hard drive in order to use it with the SATA motherboard. Basically, the adapter is a cable which at one end allows the IDE adapter to plug in and a SATA plug on the other. Remember, it’s always important to get the right type of adapter. An adapter will accept any connection point and it is the most significant matter of it.
How to Connect
- Firstly, open the external part of your computer or your computer case to get access to the motherboard and the hard drive connections. You may need a screwdriver or may not need
- Find the hard drive connections upon the motherboard and install a suitable converter. You can easily do it by just plugging in the connector simply without using any extra tool. You might hear a sound of click while placing it.
- You have to install the hard drive into an open hard drive area or bay. This depends on the type of computer case. It usually requires just a little sliding into an open bay and normally a very simple procedure.
- Then, to the hard drive connection point, attach the free end of the converter cable. Depending on the connection point, sometimes it will be necessary to attach the free end of the cable to the IDE cable.
- Lastly, close your computer case. After plugging in power supply, boot your computer. There might be some last setup procedures that’ll take place at the time of the boot process, if either your IDE drive is somehow new or has no data stored on it. You should always follow any on-screen In most cases, no additional set up is usually necessary and you will find the drive simply available for storage use.
Frequently Asked Questions and Answers
Is SATA faster than IDE?
Yes, SATA is faster than IDE. It is the newer standard and should always be chosen over the older IDE connectors. While IDE offers data speed of up to 133 MB/s, SATA can transfer data at 6 Gb/s.
Can a USB to SATA power a HDD?
USB ports can only deliver so much electricity to power portable HDDs, not regular HDDs. So, you will need to use a separate power adapter.
How do I know if my HDD is SATA or IDE?
Under Device Manager, look for specifications in storage menu. If it says S-ATA or Serial ATA, it’s SATA. For IDE devices, it can say EIDE or just IDE.
Summing Up
So, there you have it. Connecting IDE HDDs to SATA systems is actually easy. If you have the correct type of converter. When you get a hold of it, follow the above-mentioned instructions properly. Good luck and thank you.
Subscribe to our newsletter
& plug into
the world of technology
![[4 Fises] Dynex TV Volume Not Working](https://www.techdim.com/wp-content/uploads/2022/11/Dynex-TV-Volume-Not-Working.jpg)
![[Fix] My Zenith TV Won’t Turn On (100% Working)](https://www.techdim.com/wp-content/uploads/2022/10/My-Zenith-TV-Wont-Turn-On.jpg)


![[Fix] F9 Headphones Won’t Pair Together (100% Working)](https://www.techdim.com/wp-content/uploads/2022/12/F9-Headphones-Wont-Pair-Together.jpg)

